
Houseplant Repotting Step by Step at Home
Houseplant repotting step by step: learn when to size up, choose soil, protect roots, and help indoor plants settle into their new pots with confidence.
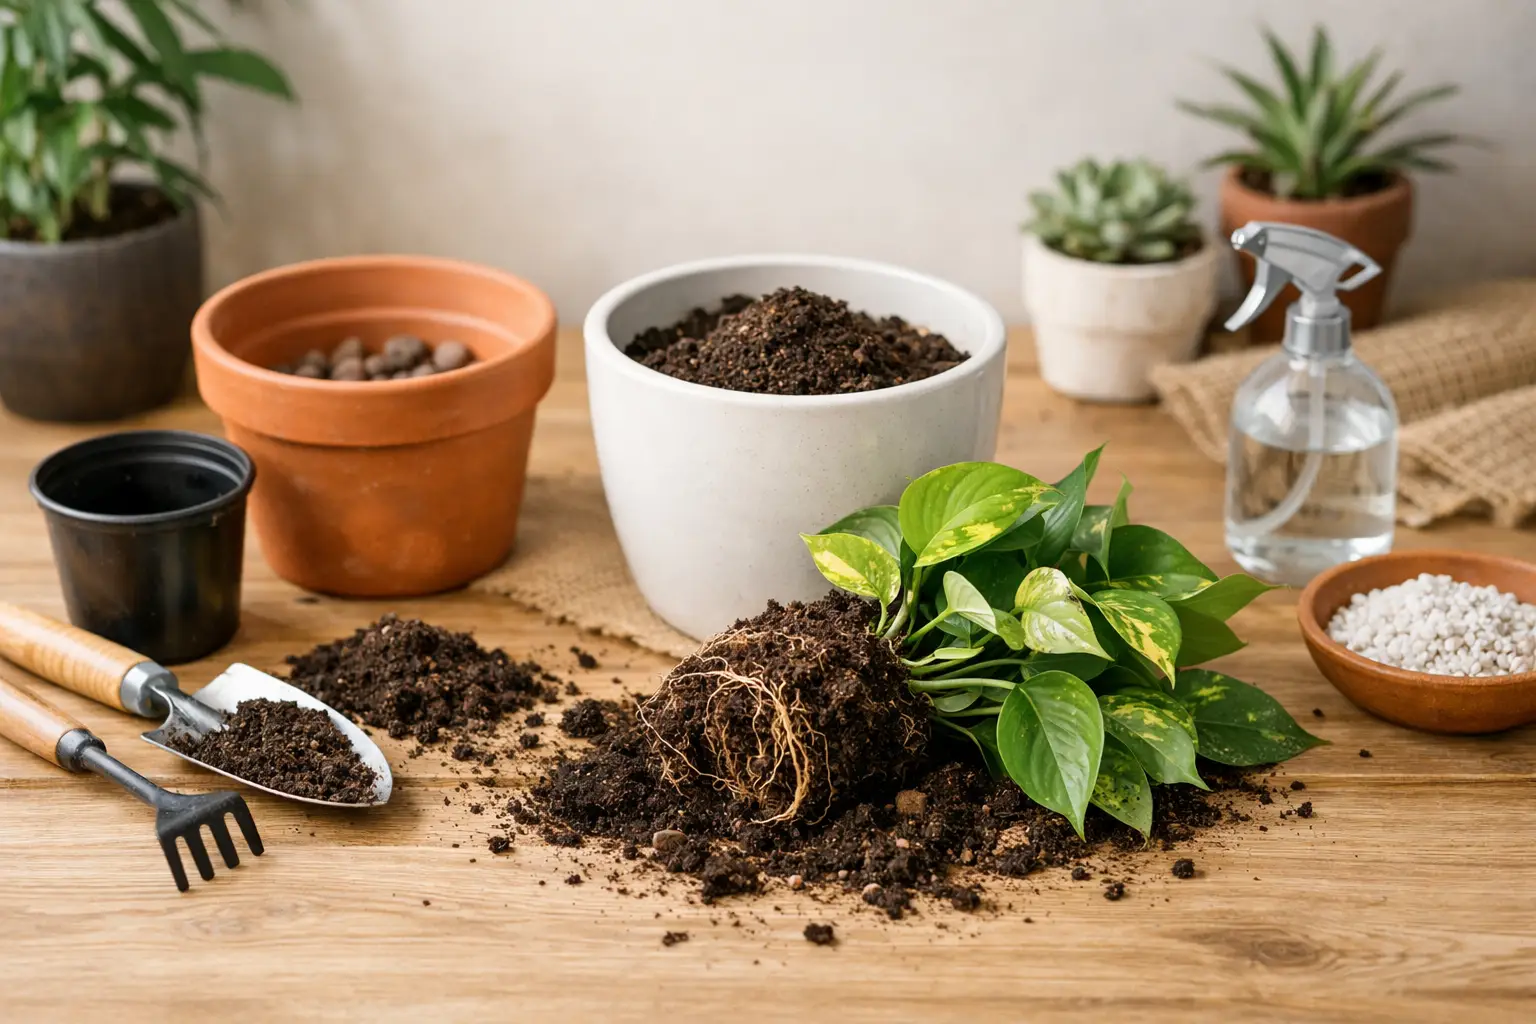
A houseplant that suddenly needs water every few days, tips over in its container, or sends roots through the drainage hole is not being difficult. It is asking for more room. Houseplant repotting step by step is less about making a mess on the kitchen table and more about giving your plant the right space, soil, and start for its next season of growth.
For Long Island homes, where indoor conditions can shift from dry winter heat to bright summer windows, repotting can make a noticeable difference in how a plant looks and performs. The key is to repot for a reason, not simply because a new pot caught your eye.
Know When Your Houseplant Needs Repotting
Most houseplants do not need a larger pot every year. Many are happiest slightly snug in their containers, especially snake plants, ZZ plants, pothos, hoyas, and peace lilies. A pot that is dramatically oversized can hold too much moisture around the roots and lead to rot.
Look for a few clear signals instead. Roots circling tightly around the inside of the pot, growing out of drainage holes, or pushing the plant upward are classic signs. Soil that dries unusually fast, water that runs right through the pot, or a plant that has stopped producing healthy new growth can also point to a rootbound plant.
Spring through early summer is usually the best time to repot actively growing tropical houseplants. They recover more quickly when light levels are stronger and temperatures are stable. That said, a plant with soggy soil, root rot, or a badly cracked pot should be addressed when the problem appears. Waiting for the perfect season is not worth risking the plant.
Gather the Right Pot and Potting Mix
Choose a new container just 1 to 2 inches wider in diameter than the current pot for most small and medium houseplants. For a large floor plant, moving up 2 to 4 inches is generally enough. Bigger is not always better. Extra soil stays wet longer, which is risky for plants that prefer their roots to dry between waterings.
Drainage is nonnegotiable. A decorative pot without a drainage hole can still be useful as a cover pot, but the plant should remain in a nursery pot or another container that allows water to escape. If you use a saucer, empty any standing water after watering.
Match the potting mix to the plant rather than using one heavy mix for everything. A standard indoor potting soil works for many leafy tropicals. Succulents, cacti, snake plants, and ZZ plants need a faster-draining blend, often improved with perlite, pumice, or coarse sand. Orchids need a bark-based orchid medium, while African violets benefit from a lighter mix made for their fine roots.
At Westminster Nursery, bring in a photo of your plant or its label if you are unsure what soil or pot size to choose. A quick match between the plant and its growing medium can prevent a lot of avoidable trouble later.
Houseplant Repotting Step by Step
Set up your work area before you remove the plant. Spread newspaper, a tray, or an old towel on the table or floor. Have your clean pot, fresh potting mix, scissors or pruners, and a small scoop ready. Water the plant lightly a day before repotting if its soil is very dry. Slightly moist soil holds together better than dust-dry soil, but it should not be saturated.
1. Remove the plant gently
Hold the base of the plant near the soil line and tip the pot sideways. Tap the bottom and sides of the pot to loosen the root ball. If the plant does not slide out, run a dull knife around the inside edge of the container or gently squeeze a flexible plastic nursery pot.
Avoid pulling on leaves, stems, or vines. For a tall plant, ask someone to steady the foliage while you support the root ball. Ceramic pots can be heavy, and this is one job where a second set of hands can protect both plant and container.
2. Inspect the roots and soil
Healthy roots are usually firm and light-colored, though some plants naturally have darker roots. Gently loosen the outer layer of roots with your fingers, especially if they are tightly circling the root ball. You do not need to shake off every bit of old soil.
Trim only roots that are black, mushy, hollow, or clearly dead. Use clean, sharp pruners, and remove as little healthy root tissue as possible. If the root system is severely compacted but otherwise healthy, tease the outer roots apart rather than cutting deeply into the center.
This is also the moment to check for pests hiding under leaves or near the soil line. Mealybugs, scale, and fungus gnats are easier to manage before a plant is tucked into a fresh pot and returned to its usual spot.
3. Add soil and set the right height
Place enough fresh potting mix in the bottom of the new pot so the top of the existing root ball will sit about 1 inch below the rim. This space makes watering much easier and keeps soil from spilling over every time you care for the plant.
Set the plant in the center and turn its best side toward the direction it will face in your home. Keep it at the same planting depth as before. Burying stems too deeply can encourage rot, while setting the root ball too high leaves roots exposed.
4. Fill around the root ball
Add potting mix around the sides a little at a time. Use your fingers to guide soil into open spaces, but do not pack it down hard. Roots need air as well as moisture. A gentle tap of the pot on the work surface will help settle the mix naturally.
Leave a small watering lip at the top. If the plant is tall or top-heavy, press the soil slightly firmer around the base for support, then consider a stake or moss pole instead of forcing the soil into a dense mass.
5. Water thoroughly, then let it drain
Water the newly repotted plant until moisture runs from the drainage hole. This settles the soil around the roots and shows you whether the pot is draining properly. Empty the saucer after the excess water has drained.
Do not add fertilizer right away. Fresh potting mix often contains nutrients, and recently disturbed roots are more sensitive than usual. Give the plant about four to six weeks before returning to a regular feeding schedule, unless the product directions for your specific plant say otherwise.
Give Your Plant a Gentle Recovery Period
A repotted plant may look a little unsettled for a week or two. A few yellowing leaves or a temporary pause in new growth can be normal, especially after root work. Place it in bright, indirect light unless that plant normally requires direct sun, and keep it away from heating vents, air conditioners, and abrupt temperature swings.
Do not compensate for repotting stress with daily watering. Check the soil first. For many tropical foliage plants, water when the top inch or two is dry. Succulents and drought-tolerant plants need a longer dry period. The right schedule depends on the plant, its pot size, the light it receives, and the season.
If your plant wilts immediately after repotting, check the basics before assuming the worst. Is the soil evenly moist but not soaked? Is the plant sitting at its original depth? Does the pot drain? Most recovery issues come back to too much water, too little light, or a container that is much too large.
Common Repotting Mistakes to Avoid
The most common mistake is upgrading to a pot that is far larger than necessary. A pothos in a 6-inch pot does not need a 12-inch container just to look more substantial. Gradual sizing gives the roots room to expand without leaving a large reservoir of wet soil around them.
Another frequent mistake is adding rocks to the bottom of a pot for drainage. Rocks do not replace a drainage hole and can create a perched layer of water in the soil above them. Use an appropriate potting mix and a pot with drainage instead.
Finally, resist the urge to repot every plant at once. Some plants only need refreshed soil, while others can stay in the same container for another year. If a plant is healthy, growing well, and watering normally, a top dressing of fresh mix may be all it needs.
A successful repotting is quiet proof that good plant care is often simple: choose the right container, respect the roots, and give the plant time to adjust. With a little patience, that crowded houseplant can settle in, stretch out, and bring fresh green life to your home for seasons to come.