
Guide to Landscape Lighting Basics for Long Island
A guide to landscape lighting basics for Long Island homes: choose fixtures, place layers, manage glare, and plan a safer, more inviting yard after dark.
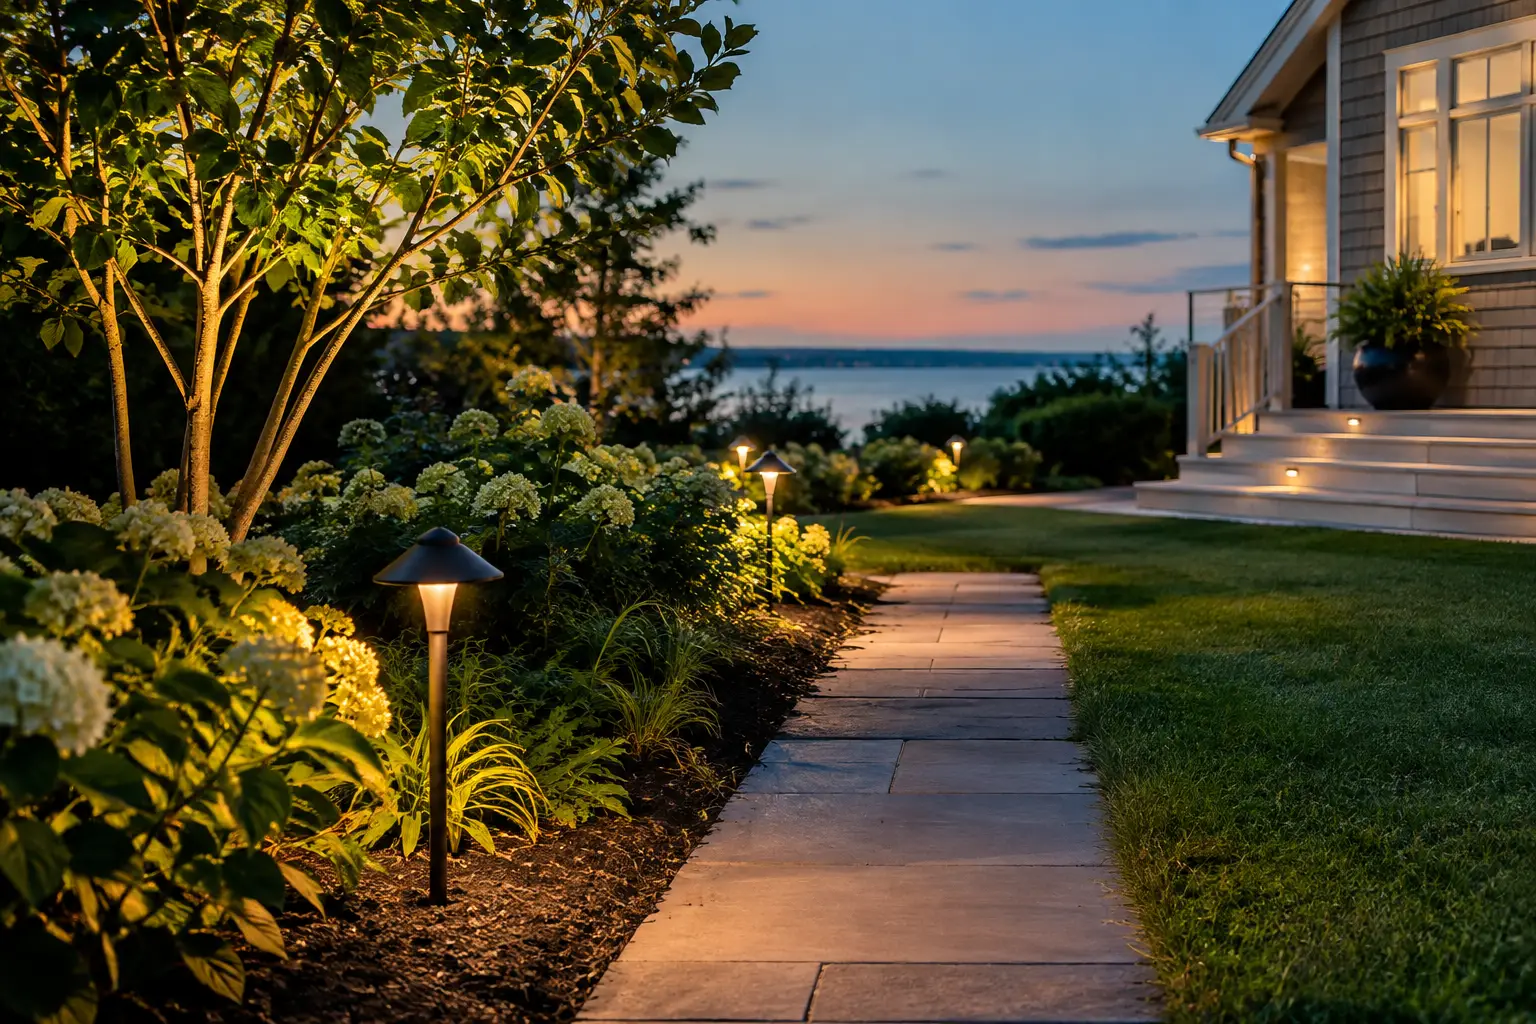
The right outdoor lighting changes how your property feels at 8 p.m. A front walk becomes easier to follow, a mature tree gains presence, and a patio is ready for an unplanned evening outside. This guide to landscape lighting basics will help Long Island homeowners make smart choices before buying fixtures or scheduling an installation.
Landscape lighting works best when it has a job to do. It can improve visibility, draw attention to planting beds and architecture, and make entrances feel more welcoming. The goal is not to make the yard look like daylight. It is to create comfortable pools of light that lead the eye where you want it to go.
Start With How You Use the Property
Before choosing fixture styles, walk your property after sunset. Notice where you slow down, where guests enter, and which areas disappear once the sun is down. Your priorities may be practical, decorative, or a mix of both.
A family that uses the patio for dinner and entertaining needs useful light around seating, steps, and cooking areas. A homeowner focused on curb appeal may place more attention on the front entry, specimen trees, stonework, and foundation planting. For a commercial property, clear routes from parking areas to doors deserve careful planning.
Think in zones rather than treating the entire yard as one project. The front approach, side gate, rear patio, pool area, garden beds, and driveway all have different lighting needs. This approach also makes it easier to phase the work. Start with the areas that affect everyday use, then add feature lighting as the landscape develops.
Guide to Landscape Lighting Basics: Build in Layers
The most natural-looking lighting plans use layers. Each layer has a distinct purpose, and together they create depth without harsh brightness.
Path and Step Lighting
Path lights guide movement along walkways, driveways, and garden routes. They should illuminate the surface beneath your feet, not shine directly into your eyes. Place them with enough spacing to show the route clearly while avoiding a rigid runway effect. Curved walks often look better when fixtures follow the shape of the path rather than being installed at identical intervals.
Step lights are especially useful near changes in elevation, porch stairs, and retaining walls. A small amount of well-aimed light can make a major difference where wet leaves, snow, or icy conditions can make footing uncertain. On Long Island, this practical layer earns its place through every season.
Accent Lighting for Trees, Beds, and Stone
Uplights add drama by directing light upward onto a tree canopy, ornamental grass, boulder, garden wall, or architectural detail. The fixture should usually be positioned off to one side rather than centered directly in front of its subject. That creates texture and shadow instead of a flat, overly bright look.
For trees, consider their mature shape, not just their current height. A narrow evergreen may need a tighter beam, while a broad shade tree may benefit from several fixtures positioned around the trunk. Planting beds also change from season to season. Aim lights so spring flowers, summer containers, and fall color can share the spotlight without frequent rearranging.
Downlighting creates a softer effect. Fixtures mounted in a tree or structure cast light downward, similar to moonlight, and can be useful over patios, lawns, and broad walks. Installation requires thoughtful placement and secure mounting, especially when working around established trees.
Ambient Light for Outdoor Living
Patios, decks, and seating areas need enough light to be useful without losing their relaxed atmosphere. Wall-mounted fixtures, under-cap lights on seat walls, subtle deck lighting, or carefully aimed downlights can all work well. The best choice depends on the structure, available power, and how the space is used.
Avoid relying on one bright floodlight for an entire entertaining area. It may provide visibility, but it also flattens the setting and creates glare. Several lower-output fixtures placed with intention usually feel more comfortable and make the landscape beyond the patio visible.
Choose Fixtures That Belong Outdoors
Landscape fixtures face rain, irrigation, wind, salt air, soil, and seasonal temperature swings. Materials matter. Brass and copper age naturally and hold up well in demanding conditions. Powder-coated aluminum can be a practical option when it is well made, while inexpensive thin fixtures may fade, corrode, or shift out of position sooner than expected.
Low-voltage LED systems are a popular choice for residential landscapes. They use less energy than older lighting technologies, offer long bulb life, and allow flexible fixture placement. LEDs also come in different color temperatures. For most homes, warm white light around 2700K to 3000K creates an inviting look that complements stone, brick, wood, and plant material.
Cooler white light can appear stark in a garden setting, particularly when every fixture uses it. Color-changing fixtures can be enjoyable for holiday decorating or special occasions, but they are usually strongest as an accent rather than the foundation of a permanent lighting plan.
Control Glare Before It Starts
Good lighting lets you see the landscape. Poor lighting makes you see the fixture, the bulb, or a bright reflection in a window. Glare is one of the most common reasons a lighting project feels less polished than expected.
Use shields, hoods, and careful aiming to keep light pointed at the intended surface. Check sightlines from the front door, living room, neighbor-facing areas, and driveway. A fixture that looks fine while standing beside it may be uncomfortable from across the yard.
Be mindful of reflective materials. Light bouncing off pale stone, water, glass doors, or glossy leaves can be stronger than anticipated. Lowering the fixture output or changing its angle often solves the issue without adding more equipment.
Plan for Power, Controls, and Maintenance
A lighting plan is more than the visible fixtures. It also includes wiring, transformer capacity, connections, controls, and future expansion. Low-voltage systems need a properly sized transformer based on total wattage and wire runs. Long runs can experience voltage drop, which may cause fixtures at the far end to appear dimmer.
Timers and photocells make operation simple. Smart controls can add scheduling from a phone, seasonal adjustments, and separate zones for the front yard and backyard. Automation is helpful, but it should not replace a sensible layout. If the fixtures are poorly positioned, better controls will not improve the look.
Landscape lighting needs occasional attention. Leaves can cover lenses, mulch can bury fixtures, and growing shrubs may block a beam that once highlighted a favorite tree. Inspect the system at the start of spring and again before the holiday season. Re-aim fixtures after pruning, planting, or hardscape work, and clean lenses gently to maintain clear light output.
When a Professional Plan Makes Sense
Simple path lighting can be a manageable project for a confident homeowner. A larger system involving multiple zones, mature trees, patios, masonry, or electrical coordination benefits from experienced design and installation. The difference is often in the details: fixture spacing, beam angles, wire routing, drainage considerations, and how the lighting works with the landscape through all four seasons.
Westminster Nursery can help homeowners bring planting, hardscape, and lighting decisions into one coordinated outdoor plan. This is particularly valuable when you are installing new privacy hedges, refreshing foundation beds, adding a patio, or improving a front entry at the same time.
Begin with the route you use most after dark, then add light where it makes the property safer, warmer, and more distinctly yours. A few thoughtfully placed fixtures can make every return home feel better.